The Top Cut Loop - Part 03
w/e 22 November 2020
All of this week's pictures were
taken with a Kodak DX6490
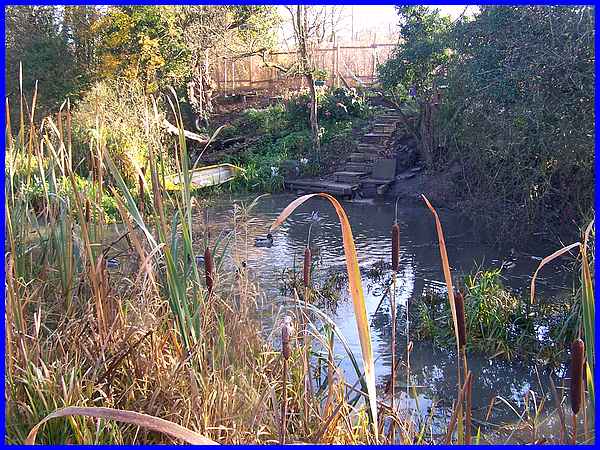
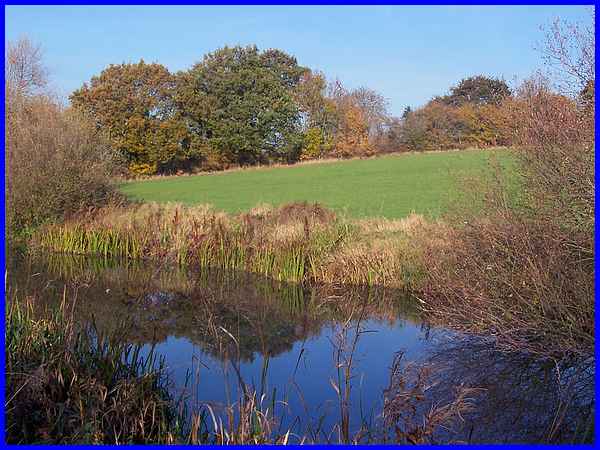
With more water in this section of the disused canal there were
also more waterfowl and several of them had congregated near
a smallholding on Cossall Road.
|
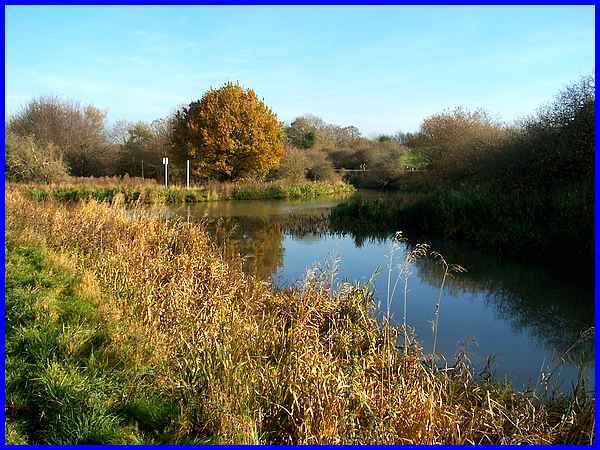
As we neared the apex of the loop in the canal, a larger expanse
of water emerged where the Robbinetts Arm branches off and which
used to serve a colliery and a brickworks when traffic on the
canal was at its busiest.
|
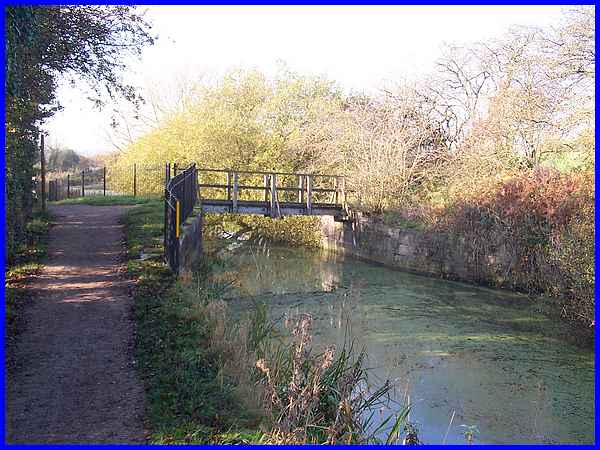
Rounding the bend and with Cossall Village now visible straight
ahead a footbridge crosses the canal but this has been added
since the closure of the canal to traffic in 1928. The canal
was abandoned in 1937.
|
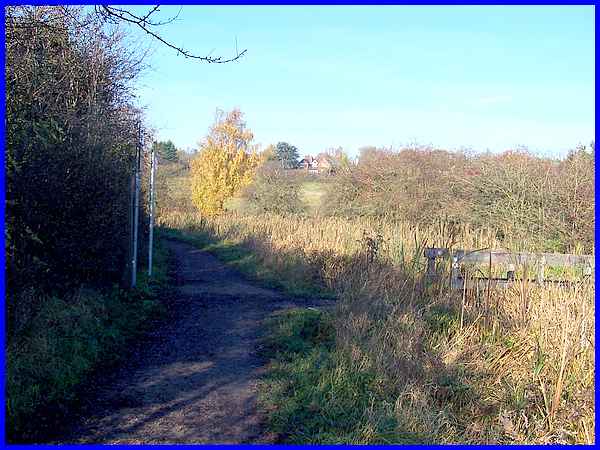
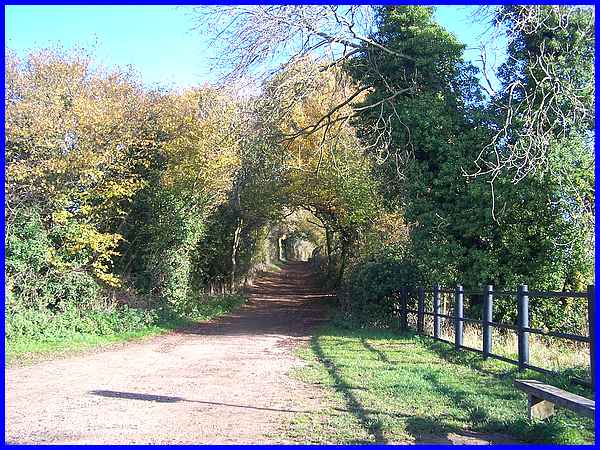
Now heading in the opposite direction the short cut across Tormentil
Field emerges onto the towpath where a footbridge crosses the
canal. This is now a fixed bridge but when the canal was in use
it was a swing bridge.
|
A gap in the hedgerow shows the short cut footpath across Tormentil
Field.
|
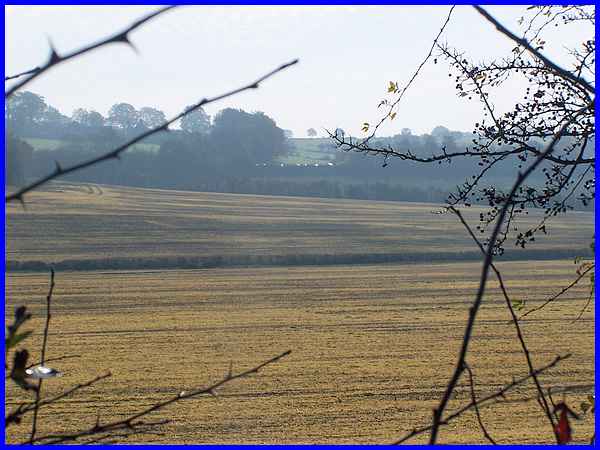
And another gap revealed the sunlight glinting off the vehicles
we had passed earlier in the Cossall Road Car Park.
|
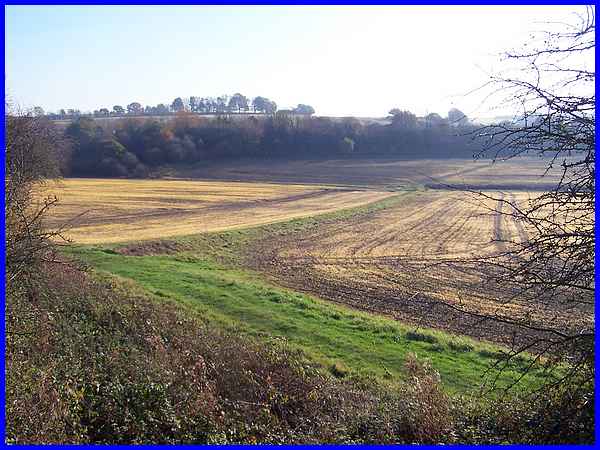
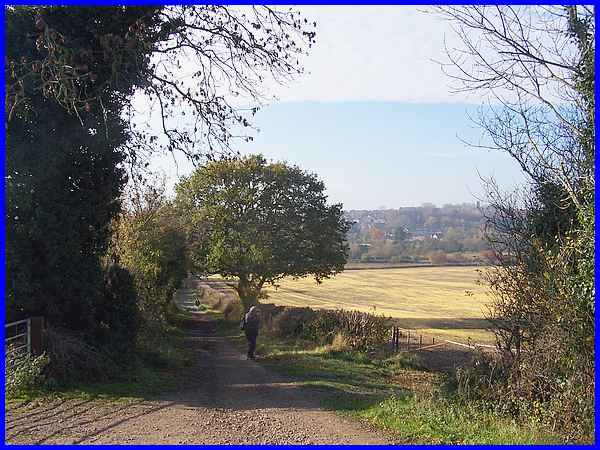
We had started the walk in misty conditions but as we neared
Mill Lane, denoted by the tree line at the edge of the field,
the day had warmed up significantly and it was more like a summer's
day than one in autumn.
|
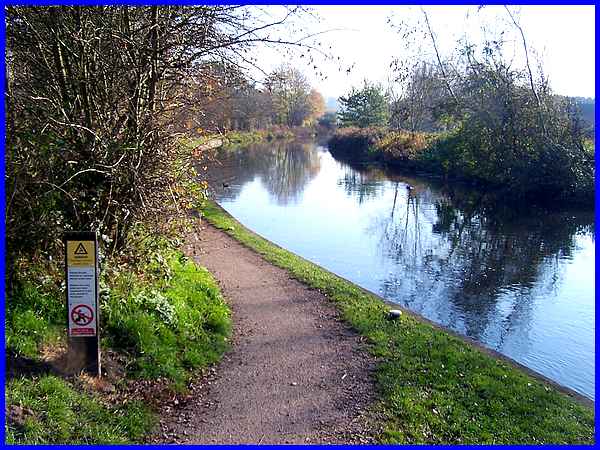
At Mill Lane the canal has been filled in and another swing bridge
removed altogether. This is the view up the lane towards Cossall.
|
Mill Lane in the other direction drops down into the Erewash
Valley and it was on this short piece that we met more people,
both pedestrians and cyclists, than on the rest of the walk put
together. I think the fine weather had encouraged a lot more
people out.
|
Whilst many of those we met were just starting out on their walks,
we had nearly finished ours and after walking down Mill Lane
and crossing the railway bridge it was just a short walk from
Potter's Lock back along the Erewash Canal to Green's Lock to
complete the circuit.
Route
Map
|
