Shardlow Part 02 - To The Rivers ...
w/e 09 August 2015
All of this week's pictures were
taken with a Kodak DX6490
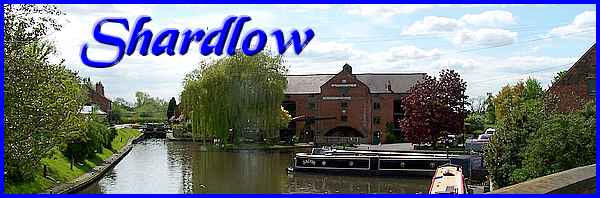
In the first part of the Village Trail at Shardlow,
we followed the Trent and Mersey Canal towpath from London Road
to Wilne Bridge and then returned to London Road via Wilne Lane.
For this second part we returned to Wilne Bridge and continued
along the towpath to where the canal joins the Rivers Derwent
and Trent.
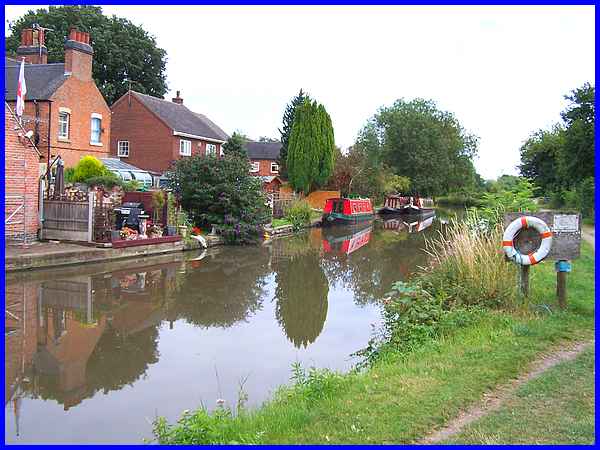
After passing under Wilne Bridge the canal passes behind the
properties on the short cul-de-sac of Millfield and the rear
gardens stop abruptly at the water's edge. The little used lifebelt
on this side of the canal though suggests that no-one recently
has accidentally fallen in and had to be rescued.
|
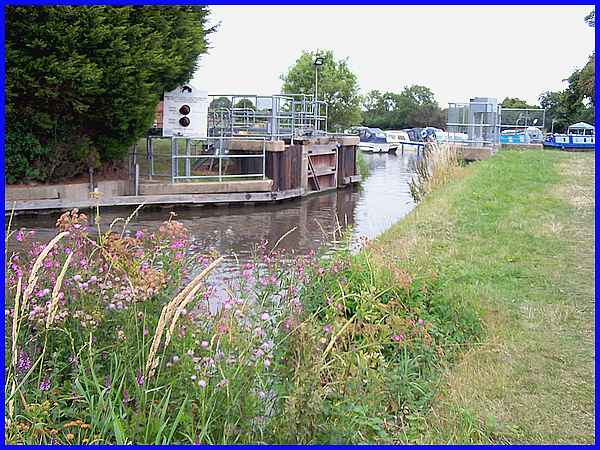
A little further on at the end of Millfield, the concrete, wood
and metal structures are part of the flood defences in the area.
|
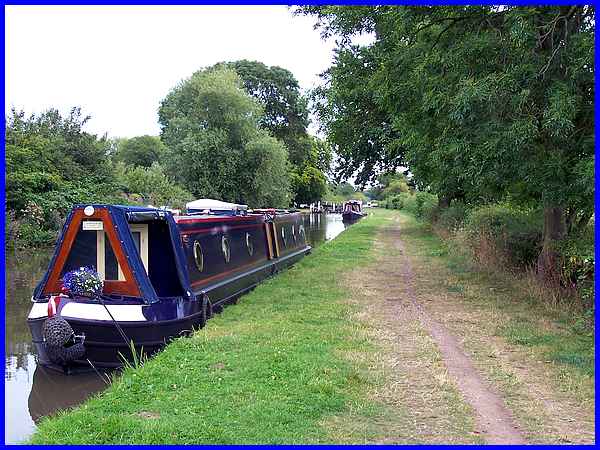
Looking back from the flood defences towards Millfield reveals
a small inlet where a number of narrow boats are moored - this
private dock forms the canal side dwellers' "garage"
no less!
|
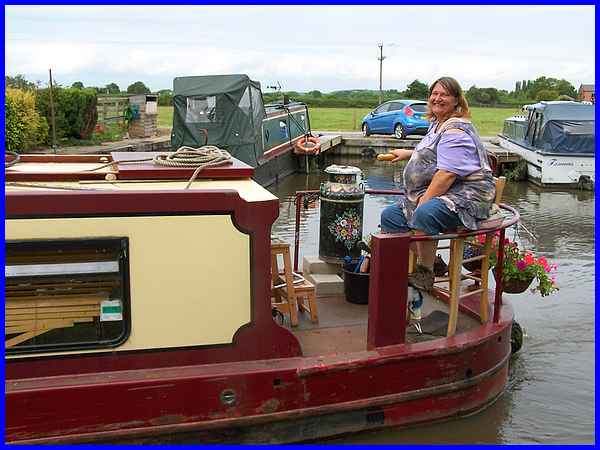
One thing you can be sure of when walking along a towpath is
a cheery greeting, a wave or a smile from the narrow boat people
and this lady aboard the Zephyranthes was no exception.
|

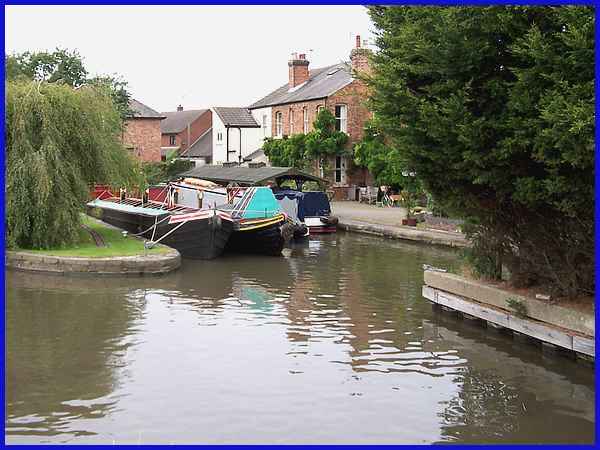
Another inlet on the northern side of the canal leads to the
Chapel Farm Marina. The Marina is in two parts with a smaller
area accessed from further along the canal. Incidentally the
lifelike bird at the left of the picture is in fact artificial
although we did originally mistake it for a real one.
|
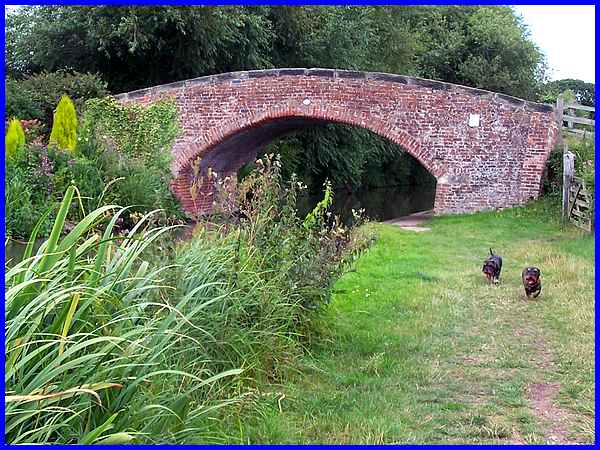
We carried on along the towpath and as we approached Porter's
Bridge two small real live dogs came bounding towards us soon
to be followed by their owners who emerged from under the bridge.
|
Porter's Bridge is numbered 1 as it is the first over the Trent
and Mersey Canal from its meeting with river water and the first
lock on the canal came into view after passing under it as we
walked along the wide towpath.
|

The lock naturally enough is named Derwent Mouth Lock.
|
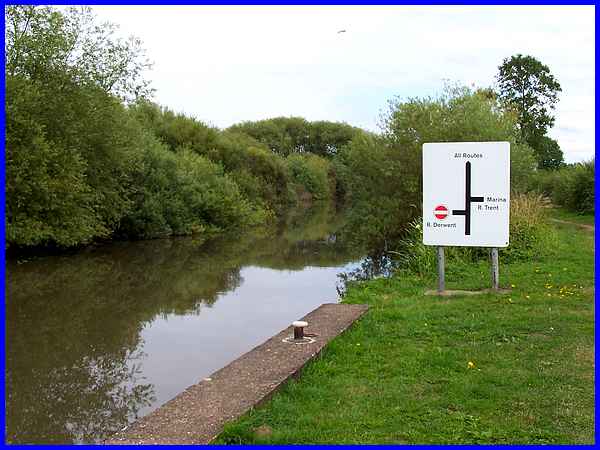
The channel after the lock now contains "river water"
as opposed to "canal water" as it feeds directly, as
the sign shows, into the River Derwent on the left and then the
River Trent.
|

Originally the towpath led straight to the Long Horse Bridge
over the Trent at its confluence with the Derwent. Here with
the canal on the left and looking directly into the mouth of
the Derwent only the concrete foundations of the bridge remain
which was removed as it was unsafe.
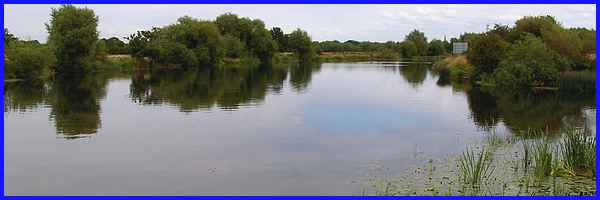
Long Horse Bridge crossed (on the right of this picture) the
Trent at a bend in the river but the towpath has now been diverted
to run alongside the Trent for about 100 yards and crosses the
Trent via a brand new bridge re-establishing a route that eventually
leads to Sawley. The spire of Sawley Church can be seen just
to the left of the sign on the opposite bank. We could have continued
that way and taken a longer roundabout way back to Shardlow but
this was the extent of this walk and we returned back along the
canal path viewing several more things we had missed on the outward
leg. We shall see those in the next part of the Village Trail.
|
