Trowell Circular - Part 03
w/e 11 August 2013
All this week's pictures were taken
with a Kodak DX6490
As in the previous two parts of this walk we found
ourselves touching on routes we had followed before at various
times. In fact the first section of this final part of the Trowell
Circular follows exactly the same path between Hallam Fields
Lock and Stanton Lock that we walked in Parts 04 and 05 of the
Hallam Fields Industrial Trail (link).
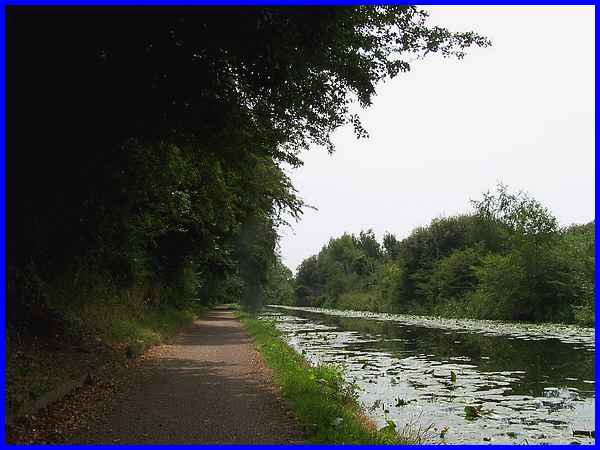
  In the Hallam Fields Industrial Trail walk
we covered this stretch of the Erewash Canal in some detail but
on this occasion I spent most of the time trying to capture images
of the dragon or damsel flies that were flitting about over the
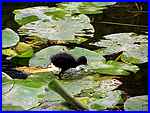
water .... but with little success! It was much easier with the
young moorhens tripping across the water lilies (left) as we
neared Stanton Lock (right). In the Hallam Fields Industrial Trail walk
we covered this stretch of the Erewash Canal in some detail but
on this occasion I spent most of the time trying to capture images
of the dragon or damsel flies that were flitting about over the
water .... but with little success! It was much easier with the
young moorhens tripping across the water lilies (left) as we
neared Stanton Lock (right).
|
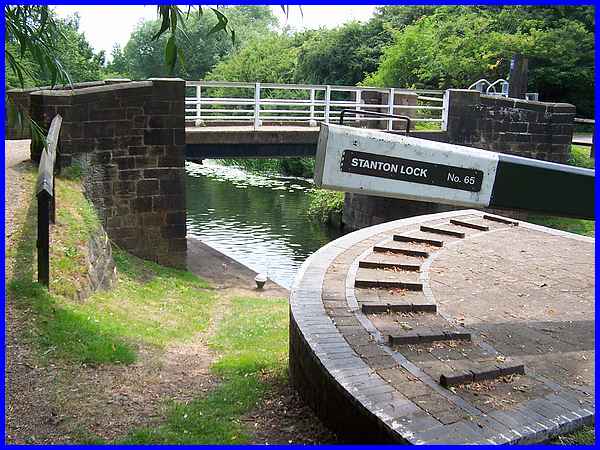
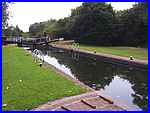
At Stanton Lock the Hallam Fields Industrial Trail joins the
Nutbrook Trail to cross the footbridge and continue through the
former Stanton Works site. Stanton Lock was formerly know as
Whitehouse Junction Lock or just simply Junction Lock but the
nameplate now displays its current name.
|
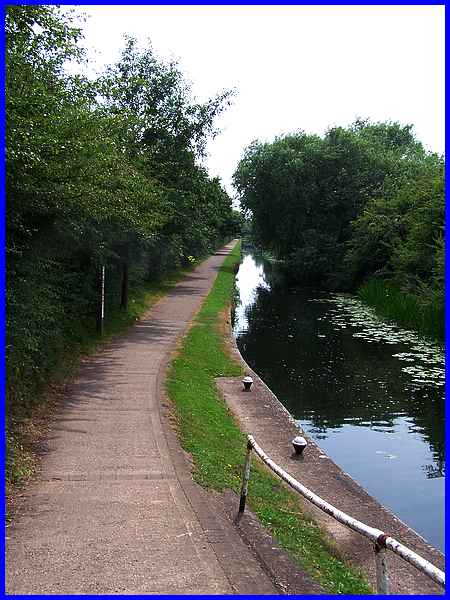
We continued from the lock along the towpath of the canal which
is also the Nutbrook Trail heading towards Long Eaton and although
the canal doesn't seem to be quite as wide it is just as straight
as it heads south. Seen here from the bridge at Stanton Lock,
another bridge crossing the canal is just visible in the far
distance and it is bridges that feature quite a lot from here
to the end of the walk.
|

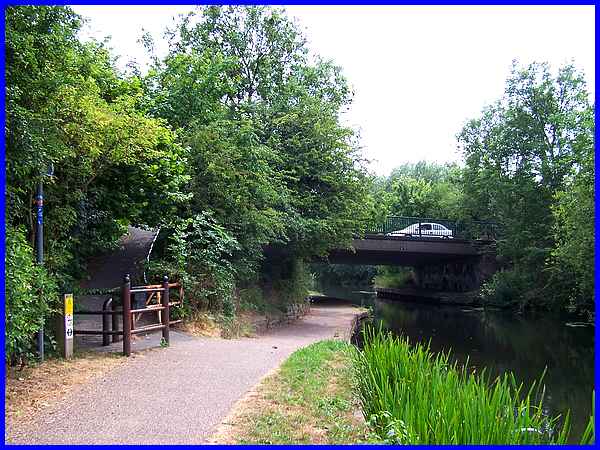
The first bridge is a railway bridge that carried a branch line
into the former Stanton works.
|
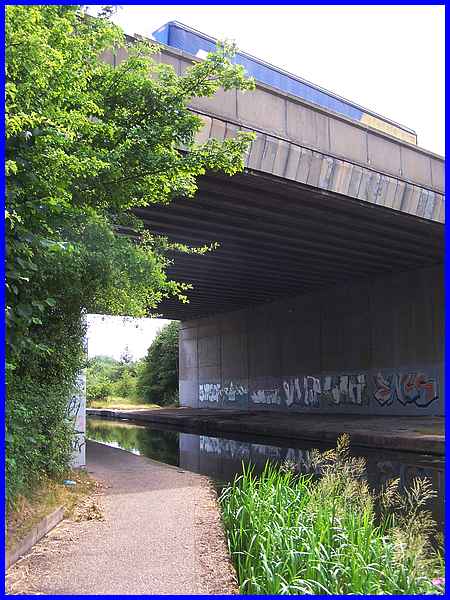
In contrast just a little further on the brick and steel construction
of the railway bridge is dwarfed by the concrete structure carrying
the M1 motorway over the canal.
|
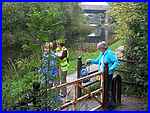 And
just a short distance after the motorway is another old style
bridge carrying traffic from Stanton Gate to Moorbridge Lane
at Stapleford and vice versa. We didn't reach this bridge though
but left the Nutbrook Trail and walked up the slope on the left.
Although there is not a picture on the site we had walked down
that same slope and passed under the bridge in the Sandiace Loop
walk during the second week of the Autumn Footprints programme
of 2008 (link).
The small image left taken on that walk in 2008 shows some fellow
walkers descending the slope to the towpath with the motorway
bridge visible in the background. And
just a short distance after the motorway is another old style
bridge carrying traffic from Stanton Gate to Moorbridge Lane
at Stapleford and vice versa. We didn't reach this bridge though
but left the Nutbrook Trail and walked up the slope on the left.
Although there is not a picture on the site we had walked down
that same slope and passed under the bridge in the Sandiace Loop
walk during the second week of the Autumn Footprints programme
of 2008 (link).
The small image left taken on that walk in 2008 shows some fellow
walkers descending the slope to the towpath with the motorway
bridge visible in the background.
|
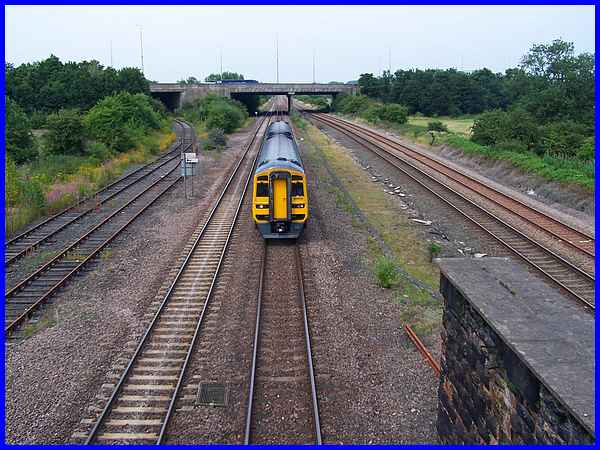
Turning left at the top of the slope we were on another bridge
over the railway just in time to see a train approach having
passed under the motorway. The branch line that we had passed
under on the canal towpath can also be seen heading off to the
left.
|
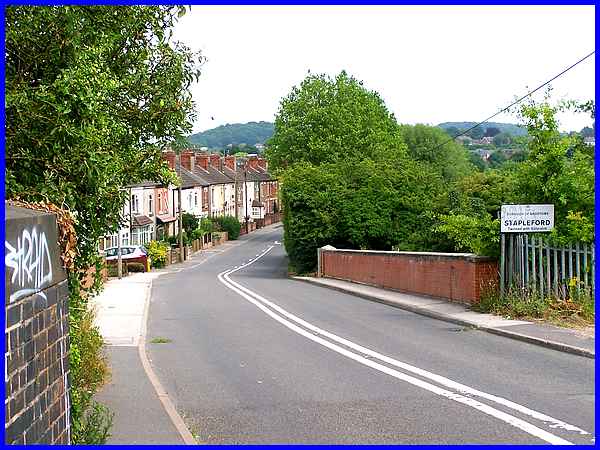
Continuing from the bridge we entered Stapleford and Moorbridge
Lane where there are footpaths leading off from each side of
the road. Left to my own devices I would have turned left and
followed the path behind the houses but the described route in
the booklet insists that we should ignore both paths and walk
along Moorbridge Lane. Exactly why I don't know but we followed
the instructions anyway.
|
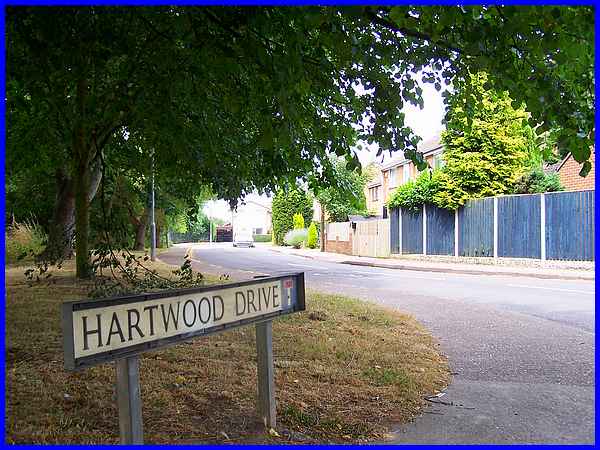
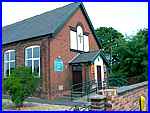  So we continued along Moorbridge Lane
and immediately after passing St Lukes Church (left) turned into
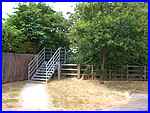
Hartwood Drive. Turning left again we walked along Talbot Drive
to the end of the cul-de-sac where we climbed over a small metal
footbridge - yes another bridge (right). The bridge crosses a
small stream and leads into the Trowell Park housing estate. So we continued along Moorbridge Lane
and immediately after passing St Lukes Church (left) turned into
Hartwood Drive. Turning left again we walked along Talbot Drive
to the end of the cul-de-sac where we climbed over a small metal
footbridge - yes another bridge (right). The bridge crosses a
small stream and leads into the Trowell Park housing estate.
|
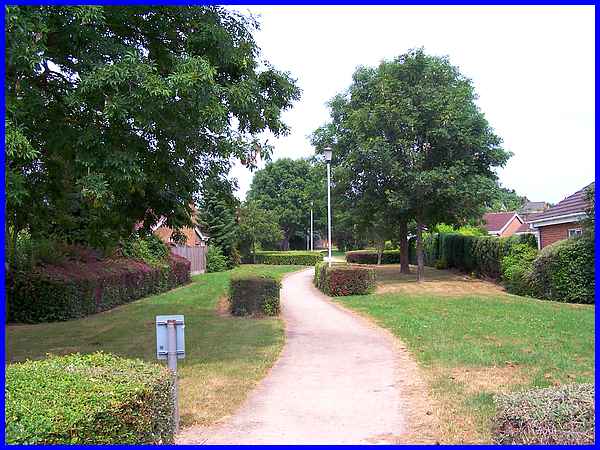
 From there it was
just a pleasant walk through the middle of the estate along footpaths
through an open space like a long linear park to Stapleford Lane.
The booklet walk continues where we had started along Pit Lane
(right) to the car park but on reaching Stapleford Lane we turned
left and took a few steps to the bus shelter. We must have just
missed a bus so sat sheltered from the rays of the beating sun
for about twenty minutes before catching the next one back to
Ilkeston. From there it was
just a pleasant walk through the middle of the estate along footpaths
through an open space like a long linear park to Stapleford Lane.
The booklet walk continues where we had started along Pit Lane
(right) to the car park but on reaching Stapleford Lane we turned
left and took a few steps to the bus shelter. We must have just
missed a bus so sat sheltered from the rays of the beating sun
for about twenty minutes before catching the next one back to
Ilkeston.
Click here to see an aerial view of our complete
route.
|
